This checklist should be completed prior to submitting a request to have your Jadu Central form moved to production. It is intended to guide you through the list of items on your form that will be checked and wil
When you create an Action Template, you will be prompted to choose a Template Type. Some of the listed Template Types are unavailable in our implementation of Jadu Forms, as shown in the list below the screenshot.
USERV - D - Position Detail - Union (PAN)
Description: Displays the union of the currently selected position. If the position doesn't exist, the field will be empty.
CLI (R) - Class Validation (PS)
Description: Allows an end user to see how many times a student has taken a specific course and if they are allowed to take it again based on the studen
SR - Career/Campus Selector (PS)
Description: Allows a user to select a career/campus from a list of all of the currently logged in user's active career/campus combinations.
SR - Dropped Enrollment (PS)
Description: Allows a currently logged in user to select a course from a list of courses that they are currently enrolled in.
UMN - Address - Mailing (PS)
Description: Displays the mailing address for the currently logged in user. If there is no mailing address, the field will be empty.
UMN - ADM - FICE Code
Description: Allows a user to lookup a school's FICE code using the Peoplesoft external organization ID.
Source System: Peoplesoft
USERV - Active Position Lookup (PAN)
Description: Allows a user to search for a position that is in the PAN database by selecting any combination of department, job code, and position id.
USERV - D - Position Detail - Craft (PAN)
Description: Displays the craft of the currently selected position. If the position doesn't exist, the field will be empty.
USERV - D - Position Detail - Crew (PAN)
Description: Displays the crew of the currently selected position. If the position doesn t exist, the field will be empty.
USERV - D - Position Detail - Job Code (PAN)
Description: Displays the job code of the currently selected position. If the position doesn't exist, the field will be empty.
USERV - D - Position Detail - Site (PAN)
Description: Displays the site of the currently selected position. If the position doesn't exist, the field will be empty.
USERV - D - Position Detail - Supervisor (PAN)
Description: Displays the supervisor of the currently selected position. If the position doesn't exist, the field will be empty.
USERV - D - Position Detail - UM Title (PAN)
Description: Displays the UM title of the currently selected position. If the position doesn't exist, the field will be empty.
USERV - D - Position Detail - Warehouse (PAN)
Description: Displays the warehouse of the currently selected position. If the position doesn't exist, the field will be empty.
UMN - Flag - SR - Degree Checkout Status
Description: Allows a user to lookup the logged in end user's degree checkout status.
Source System: Peoplesoft
UMN - Flag - SR - User Has Active Career
Description: Determines if the logged in end user has an active career based on the career and campus selected by the form builder.
UMN - Perceptive Index - Full Name
Description: Pulls the logged in user's full name from Peoplesoft and trims it to 39 characters. This is intended to be used as a Perceptive index.
UMN - Perceptive Index - Trim Value
Description: Pass in a value and it will be trimmed down to 39 characters. This is intended to be used as a Perceptive index.
Documents can be sent to Perceptive Content for long-term storage. These records can either be archived or added to a Perceptive Content workflow process for further processing.
Creating a PDF
Your initial form can be created using a variety of tools, after which you can use Adobe Acrobat DC to make it a fillable PDF form.The software you can use to create a PDF&nb
You can take your business process diagram and add in Jadu Central and Jadu Connect steps. This helps you to figure out how your Jadu Connect workflow will work.
A status allows you to give end-users a quick indication of where the case stands at any particular moment and what step the case may be waiting for. A case can be in only one status at a given point in time.
Use emails from Jadu Connect to alert users of dates or to send reminders.
Note: Emails in Jadu Connect are not as customizable as those in Jadu Central.
A status allows you to give end-users a quick indication of where the case stands at any particular moment and what step the case may be waiting for. Statuses are informational and categorical.
The Integrated component Person Lookup allows submitters to search for a person by entering either an internetID or emplid and displays the person's Preferred Name and Email Address.
It's useful to make sure that emails generated by a form go to an appropriate test account during the testing phase of building a form, and go to the correct recipient(s) once the form is in production.
Step 1: Gain Familiarity with Jadu Central and Build a Form
In order to begin working with Jadu Connect workflows, you must be familiar with some basic Jadu Central functionality. This includes:
This table shows some of the high level functionality offered in Jadu Central and Jadu Connect to help you decide which components you need for your forms.
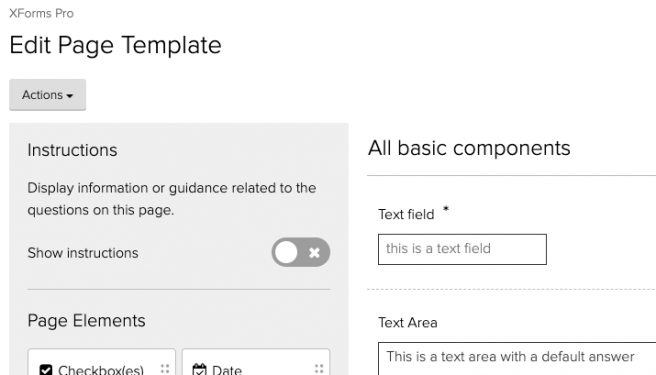
This self-help guide takes you through the process of creating a form in Jadu Central, setting up the page elements (such as text fields, drop downs check boxes) and the corresponding properties, and managing th