
This article will help you set up a remote desktop connection to a University Windows computer, from a Macintosh computer.
Requirements
- Your Internet ID will need to be added to the list of authorized remote users on any University Windows computer you want to connect to.
- A VPN connection is required to connect to a remote computer when you are off campus.
- The name of the computer you will connect to.
Contact the OIT Service Desk if you need assistance.
Installing Microsoft Windows App from Self Service
Note: On a personal Macintosh computer, you will need to download Microsoft Windows App from the Mac App Store if it is not already installed. An Apple ID is required. After the installation completes, open the application and skip to step 7.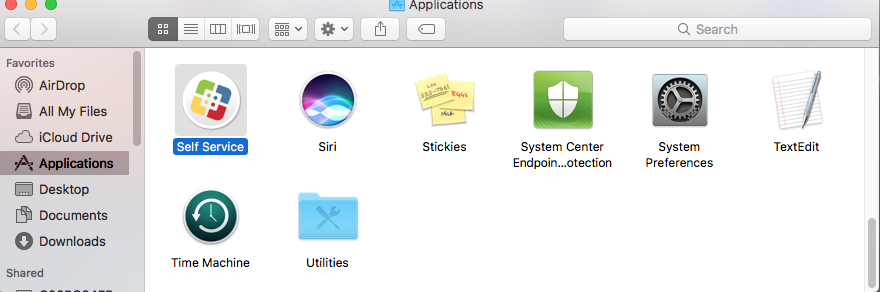
- Press Command + Spacebar to open the Spotlight search field.
- In the search field, type in Self Service and press Enter to launch Self Service.
- On the Self Service home page, locate the search field in the upper left corner.
- In the search field, type in Microsoft Remote Desktop 10.
- Microsoft Remote Desktop 10 will appear in the search results. Click the Install button to install it.
- When the installation completes, the Install button will change to Open. Click the Open button to launch Microsoft Windows App.
- Select Not Now to the 'better experience' question.
- Click Continue on the request to 'access the microphone and camera'.
- Select Allow on the 'Windows App would like to access the microphone and the camera' prompts.
- Click Skip on the welcome screen.
Create a remote connection
- If Windows App is not open, press Command + Spacebar to open the Spotlight search field.
- In the search field, type in Windows App and press Enter to launch Windows App.
- From the Windows App menu, click on Connections and then select Add PC.

- In the PC name field, type in the Full Device Name (computername.ad.umn.edu, example: UMN201957601.ad.umn.edu) or the IP Address of the Windows computer you want to connect to.
- To find the full device name, type About in the Search field and press Enter.
- To find the IP Address, type Ethernet in the Search field and press Enter. Then scroll down to IPv4 address.
Note: The Windows computer must have an Ethernet connection to the University network. A WiFi connection will not work.
- Click the Add button to save the connection.
Connect to a remote computer
- Launch Windows App.
- Under Saved PCs, double-click the connection you created.
- Enter your username and password in Enter Your Credentials.
Note: Enter your username as: ad\<username>. - Enter your password and click on Continue to establish the connection.
Note: If a 'certificate couldn't be verified' message appears, click on Continue.

- If Windows App is in full screen view, move your mouse up to the top to get its drop-down menu.
- To disconnect from the computer, click on Windows App in the menu and select Quit Windows App. Or, click on the Windows Start Menu, right-click on your account name and select Sign out.
Contact the OIT Service Desk if you need assistance.