
When, why, and how to email Prospects is largely determined by internal business processes. This article illustrates how to manually send an email from a Prospect record.
- If you are dealing with a Prospect that has attended or is planning on attending a Visit, you may want to look at the process to Email Event Attendees.
- If the Prospect is part of an Outbound Calling Campaign, you may want to follow the instructions to Manage a Campaign Call List.
Sending and Email from a Prospect Record
Navigate to the Prospect Record (If Needed)
- Click on the Prospects Tab from your homepage if showing in your default tabs or click on the All Tabs (+) button and select Prospects from the list.
- On Prospects Home find the Prospect by clicking on the Prospect Reference from the Recent Prospects list or by searching the appropriate dropdown selection in the View:All menu and clicking Go!
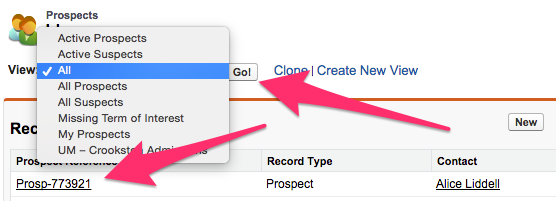
- When the appropriate Prospect is visible, click on the Prospect Reference in the list to bring up the Prospect record.
Send an Email from the Prospect record
- Click on Send an Email from the top or bottom of the Prospect Detail section of the record

- Once on the Send an Email screen, you will notice that the Prospect record is automatically associated with the email in the Related To field.
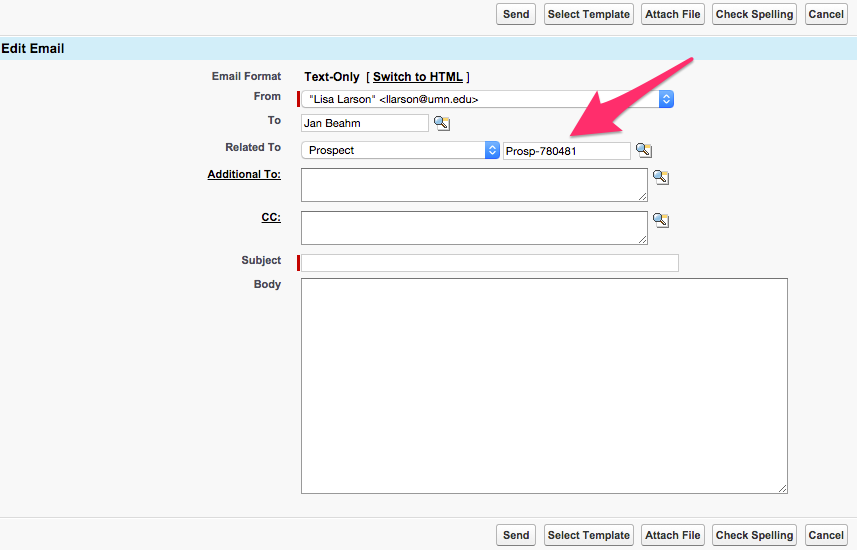
- Internal Business processes determine what the email will say and how it will be entered and displayed.
- If entering a one off email, the Subject and Body can be typed or copy/pasted in as needed.
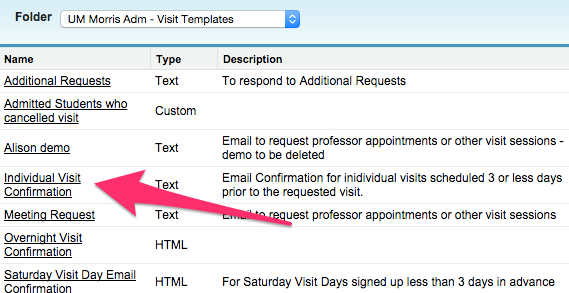
- Clicking on Select Template -- at either the top or bottom of the Edit Detail section -- will bring up a list of available templates.
- If the folder of the Email Template that you want to use is not showing, the dropdown can be manipulated to change the options.
- Clicking on the Name of the desired template will populate the information in the Send an Email screen for further manipulation if needed.
- The options to Attach a file and Check Spelling are also available for use and can be found at the top or the bottom of the Edit Detail section.

- After all text has been manipulated as desired, any necessary files have been attached, and spelling has been checked, click Send at the top or the bottom of Edit Email section.

- This brings you back to the Prospect record. There will now be a record of the email in Activity History.
