
You can send print jobs via WiFi to printers in UMN Computer Labs but first, you need to install the necessary driver.
- Once you install the driver, print your documents following the Managed Printing steps.
Installing the Windows driver(s)
- Click one of the following links to download the driver for the type of printing you would like to do (Note: The following links will work only if you are accessing this article on a device connected to campus eduroam):
- Click on the downloaded file to start the installer. A Security Warning window opens.
- Click Run.
- Read the End user license agreement.
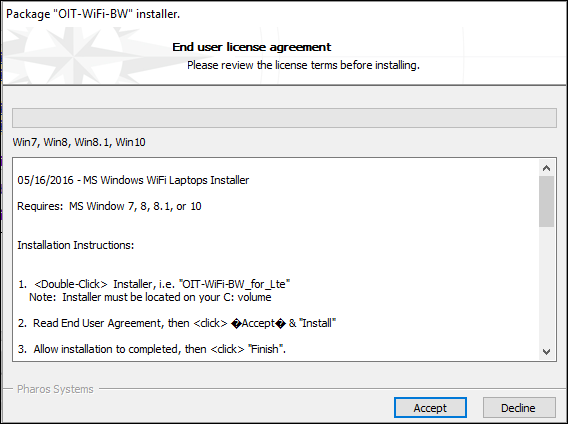
- Click Accept.
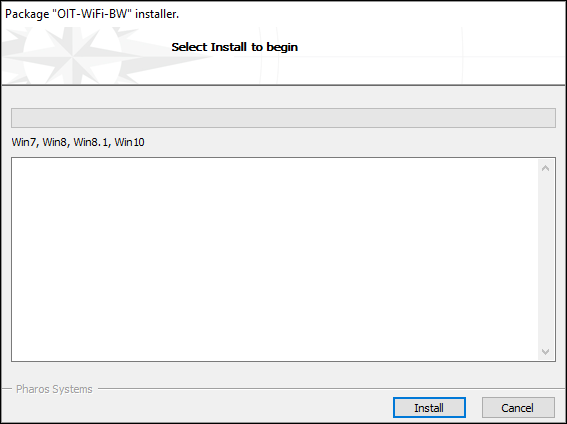
- Click Install.
- Click Finish when the installation is complete.
Uninstalling the driver
- Go to Control Panel and select Programs and Features.
- Find Pharos from the list of programs.
- Right-click on Pharos.
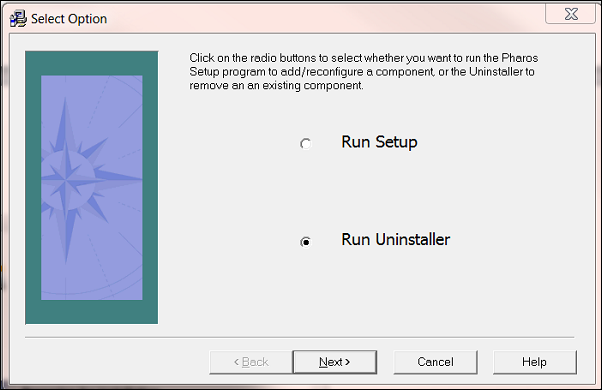
- Click Uninstall. A Select Option window opens.
- Select Run Uninstaller.
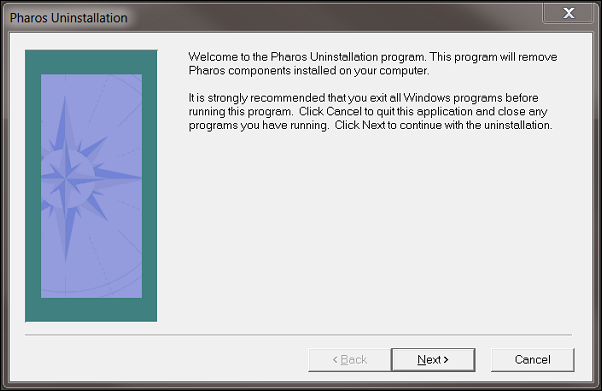
- Click Next. A Pharos Uninstallation window appears.
- Click Next.
- Select Pharos Popups in the Select Components window.
- Click Select All.
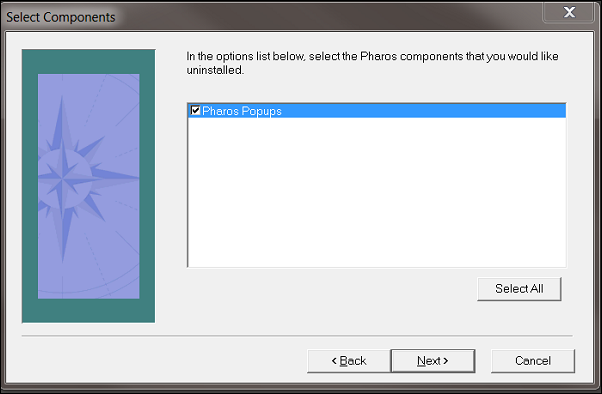
- Click Next.
- Click Next in the Pharos Directory window.

- Click Start in the Start Uninstallation window. Once the uninstallation process is complete, a Finished window will appear, stating that the software was successfully removed.
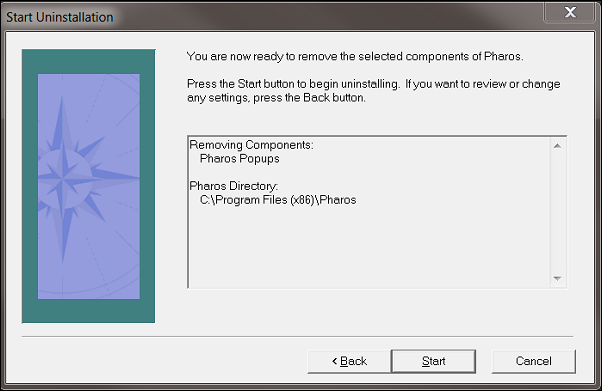
- Click Finish to complete the uninstallation.