
Appointments can assign a staff user to an appointment with a Prospect record or other CRM Users. Depending on how appointments are setup, they can be used internally as reminders for staff members or Prospect records can be added and sent notifications and calendar reminders if desired.
Internal business processes and personal preference may affect how you setup Appointments. This article gives an overview of how to create an Appointment and what fields are available for use.
Note: The instructions here are from a Prospect record but the fields available for use are transferable and will show up any time New Appointment is selected.
Adding an Appointment to a Prospect Record
If Needed Navigate to the Prospect Record
- Click on the Prospects Tab from your homepage if showing in your default tabs or click on the All Tabs (+) button and select Prospects from the list.
- At Prospects Home, find the Prospect that needs the Appointment from the list of Recent Prospects or by searching the appropriate dropdown selection in the View: menu and clicking Go!

- Once the appropriate Prospect is visible, click on the Prospect Reference in the list to bring up the Prospect record.
Create an Appointment
- Once on the Prospect record, there are two ways to create a New Appointment:
- At the top of the Prospect record hover over the text for Open Activities. This will bring up a window where the New Appointment button can be clicked.
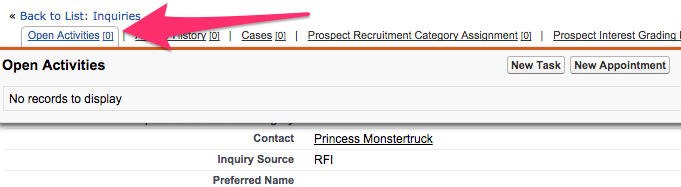
- Underneath the Prospect Detail section of the Prospect record there is a section titled Open Activities. It is here you can select the button for New Appointment.

- At the top of the Prospect record hover over the text for Open Activities. This will bring up a window where the New Appointment button can be clicked.
- From either location, clicking on New Appointment brings you to the New Appointment screen on your Calendar. Here multiple fields can be manipulated. How you manipulate these fields will be determined by internal business processes.
- Assigned To will default to you as the User but the Lookup icon can be used to assign the Appointment to a different User.
- The Subject field will be determined by internal business processes and should be something descriptive or useful to the assigned User and/or assigned Prospect/Contact record for the Appointment.
- Clicking the All-Day Appointment checkbox will make the Appointment an All-Day Appointment.
- Start and End will dictate the date and time the appointment shows on any associated Calendars if the All-Day Appointment button is not checked off.
- EMPLID is an information field available for use.
- Related To is defaulted to the associated Prospect record used as the basis for the Appointment (if coming from another workflow the dropdowns and Lookup icon can be used to find the desired record type and value).
- Contact is also pre-populated based on the relationship with the Prospect record.
- Clicking on Add to Invitees will add the Appointment to the Contact's Salesforce Calendar and changes the Save button to Save & Send Update.
- This will email the Contact an invite to the Appointment once this button is clicked and the Subject, Description, and Location information are included in this email communication.
- Because most Contacts will not have access to their CRM Calendar, it is important to remember that the email does give the option for the person to save to their own calendar outside of CRM with appropriate Start and End or All-Day Appointment information.
- Making the event Private will lock it for editing by other Users who do not have the Modify All Data permission.
- Location is an optional field that will show as the Where for any Users or Contacts getting emails about the Appointment.
- Show Time As will determine how the Appointment shows on the Calendar within CRM. If adding the event to any other calendar it may need to be updated manually in that location.
- Phone and Email will be pulling from any associated Contact record and cannot be modified here.
- Description is an optional field that will show to any assigned Users or Contacts getting emails about the Appointment.
- If the appointment should be recurring the Create Recurring Series of Appointments checkbox being checked off will bring up options for selecting recurrence and date ranges.
- Reminder will be pre-populated based on selections in the Due Date and Recurrence areas but can be manipulated here as needed.
- The Reminder for the Appointment will show up for the assigned User within CRM.
- Once all of the desired fields have been filled out, you may see different options. If you have not added anyone as an Invitee, you will be on the New Appointment record and have the option to Save and go back to the Prospect record.

- If you have clicked on Add to Attendees you will be on a New Multi-Person Calendar Appointment and your options will be to Save & Send Update, which will email you and any associated Contacts, or to Save which will save the Appointment and send no email notifications.
