
When videos are uploaded to Kaltura in Canvas, they are automatically captioned by using automatic speech recognition (ASR). You can edit and check for accuracy or you can create and upload custom captions.
Notes:
- To edit the captions, you must be the video owner or a co-editor.
- Accepted captioning file types are SRT and DXFP.
Uploading Custom Captions
- Log in to canvas.umn.edu.
- Select My Media (Kaltura) from the Account menu.

- If prompted to authorize Canvas to access your Kaltura account, select Authorize.
- Your personal My Media appears. Find the video you want to add a caption file to and select the edit icon
 located to the right of the video.
 - Select the Captions tab under the video.
- Select the X under the Actions tab to delete the current caption file.
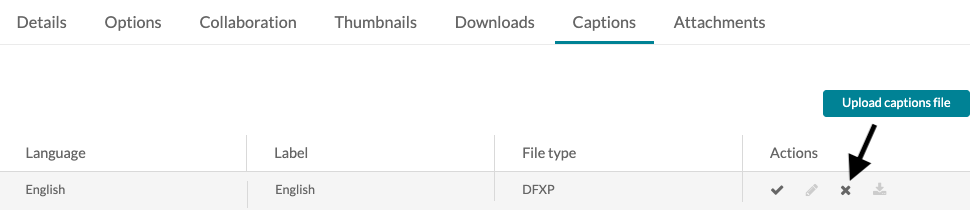
- Select Delete in the popup box that appears.
- Select Upload captions file. A pop-up window appears.
- Choose Browse.
- Choose your file and select Open.
- Select the Language of the caption file.
- Enter a Label for your captions. This text will appear in the Closed Captions menu of the player.
- Use the captioned language as the label (e.g., English).
- Select Save.
- Select the X under the Actions tab to delete the current caption file.
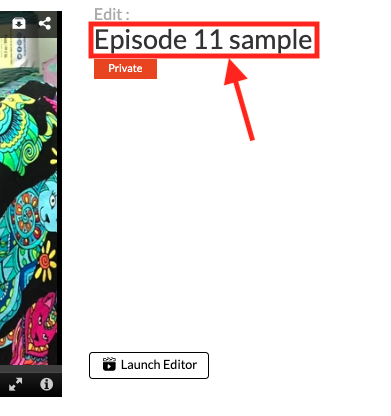
- View your captions in the video:
- Select the title to the right of the video, below Edit.
- In the video player, select the Closed Captioning icon
 to pick the caption track; text appears over the player during video playback.
- For more information on editing captions, go to Find and Edit Captions.
- Select the title to the right of the video, below Edit.