Depending on how your access has been setup you may be assigned to different Walk-in Locations and Counters at different times. This article is intended as instructions to navigate to active Locations and Counters for available Cases and is not intended as a replacement for or change in any current internal business processes.
If you are looking to create or modify a Walk-in Location or Counter itself please review Setup Walk-in Locations and Counters.
Managing Walk-in Cases
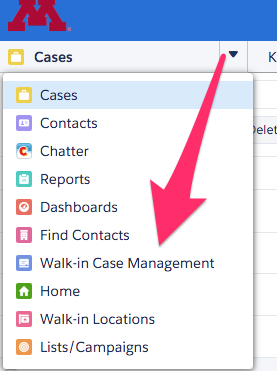
- Use the arrow to bring up the dropdown for the Service Console Navigation Tab and select Walk-in Location Management.

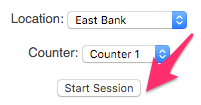
- Select the desired Location and Counter to work on from the dropdown menus and click Start Session.

- What you do next will largely be determined by internal business processes but an overview of actions that can be taken here are below:

- There are two ways to get to a Case to work on.
- Clicking on the Next button will bring you to the next available Case.
- Clicking on Select in the Action column next to a person's Name will bring up that particular Case.
- Refresh Queue can be used to bring in any new Cases that have come in since you started your session or last refreshed.
- End Session will end this particular session at this Counter and Location.
- Call Again can be used if a person does not respond to your call and will pull up the next person in the Case Queue.
- There are two ways to get to a Case to work on.
