You may wish to create reports that would be different for each User within your group that has assigned Prospects. Creating a different report for each assigned User can be time-consuming. The Assigned to Current User checkbox has been created to make creating these kinds of reports from the Prospect Object easier.
Filtering the report by Assigned to Current User will allow you to see Prospects assigned to you via the Assigned Primary Counselor / Recruiter field from the Prospect record. By then saving the report to a public folder other Users will be able to run the report and see only Prospects assigned to them when running the report without making any other changes.
Creating a dynamic report using the Assigned to Current User Field
- From your homepage, click on Reports if showing as a default tab or click on the All Tabs button (+) in the menu bar to display All Tabs and click on Reports in the list.
- Click on New Report from the Reports & Dashboards page. This brings you to the Select Report Type screen.

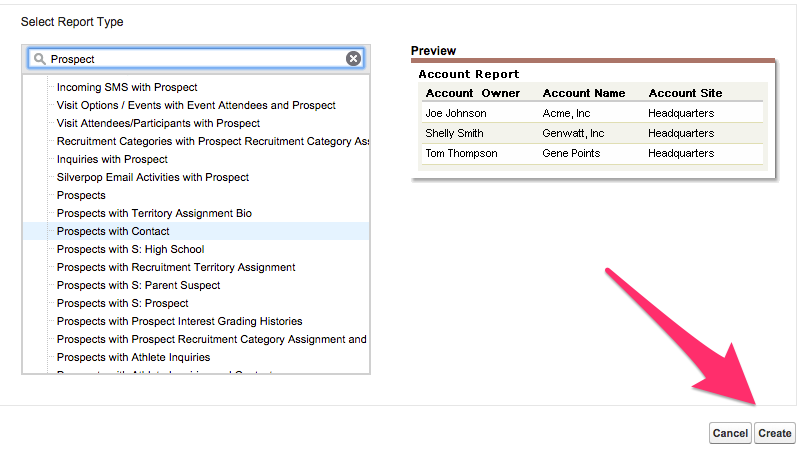
- From the Select Report Type screen, highlight the Report Type you'd like from the list. Depending on your needs you may be selecting from different types so check your internal business processes.
- Note: While you are able to select from many different Report Types, the main Object for the report must be the Prospect Object. This generally means that Prospect is listed first in the Report Type Name.
- Once you have selected the desired Report Type click Create. This brings up the Unsaved Report screen.
- From the Unsaved Report screen, use the Fields list on the right side of the screen to drag and drop the # Assigned to Current User field and any other Fields you would like to see on the report into the Preview area.
- You may also need or want to change the Show and Date Field options at this time per your needs.
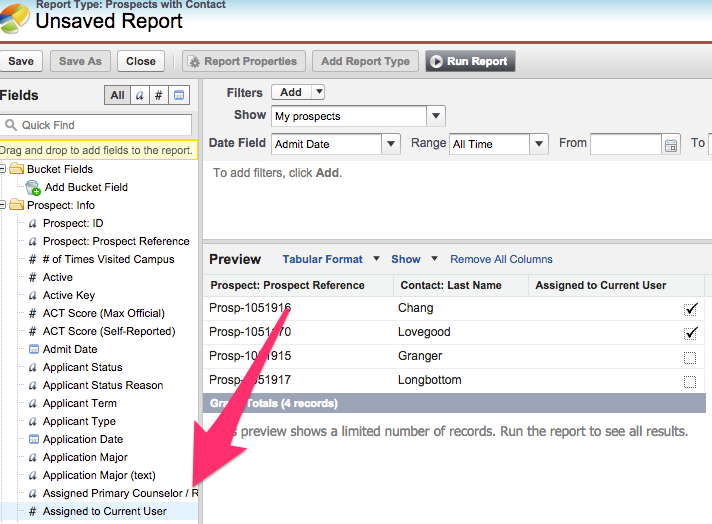
- You may also need or want to change the Show and Date Field options at this time per your needs.
- Once all desired fields have been added to the Preview area and all other options are the way you'd like them, click on the Add button next to Filters. The Filter will appear under the Date Field.
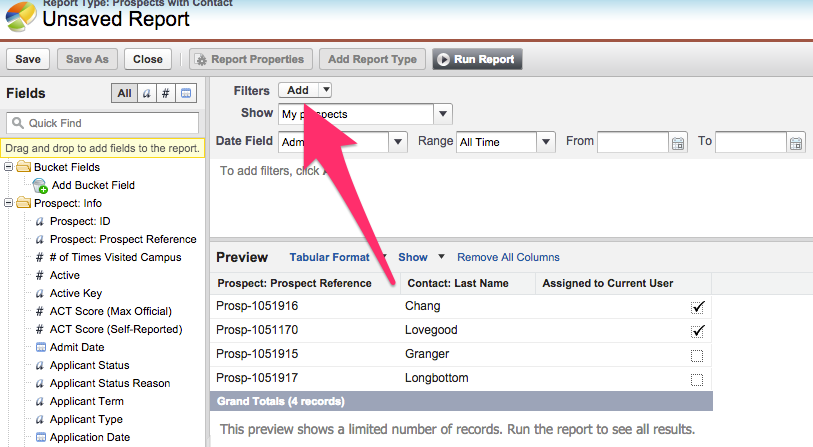
- Once the Filter is showing, use the dropdown menu to select Assigned to Current User.
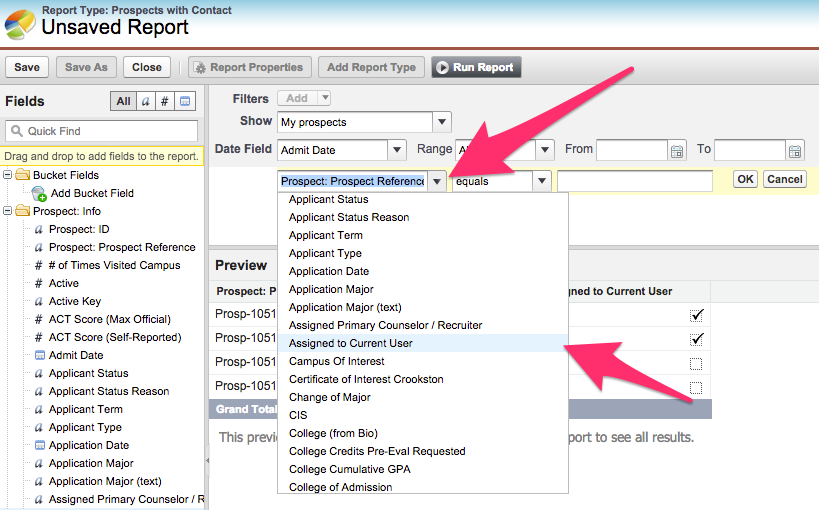
- The next menu defaults to equals which can be left at this time.
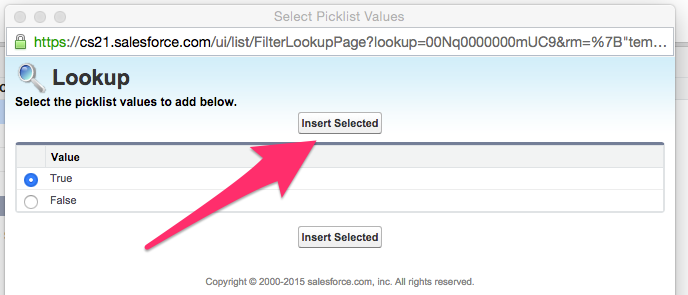
- In the last field use the Lookup icon
 to pull up the Lookup screen and select True for the pick-list value.
 - Click on Insert Selected at the top or bottom of the screen to finalize your choice.
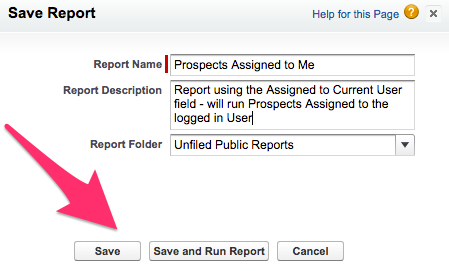
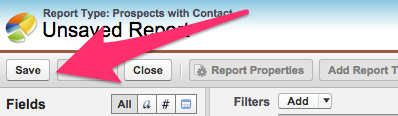
- Add any further filters, fields, or options that you'd like to include in your report and click on Save at the top of the screen to bring up the Save Report screen.
- Give the Report a Name, Description, and Folder on the Save Report screen.
- Your internal business processes will determine how you should name and describe the report.
- The dropdown menu will include the Public Folders available to you and will also be determined by internal business process.
- If you need to also run the report after all the necessary information has been entered, you can click on Save and Run Report to finalize your selections and run the report.
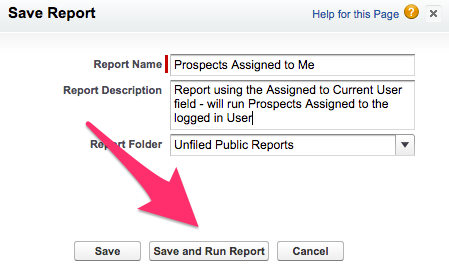
- If you are done filling in the necessary information and you would like to save the report, click on the Save button to finalize your selections.