Creating Views is a way to narrow down a list of records to look at based on different criteria. For example, you can create a list view of Prospects in your Territory, Organizations within a specific Industry, or Visits within a specific time period.
At the top of every individual Object's Home Tab (i.e. Contacts, Prospects, Visits, etc.) is a link to Create New View. The options available for you will differ depending on the Object Home Tab that you are on. Internal business processes will determine what information is going to be the most useful. This article uses the Prospect Home Tab to demonstrate how to create Views.
Note that if you need to look at fields from multiple Objects within Salesforce you will need to Create a Report instead.
Creating Views
- Click on the Tab for the desired record/object type you'd like to make a View for. (This article uses Prospect as an example.)

- At the top of Prospects Home click on Create New View (the location of the Create New View link is consistent across pages). This brings you to the Create New View page with three steps listed.

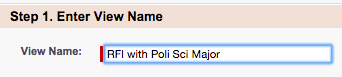
- Step 1 is to Enter View Name. Make sure you name it something that you will recognize later and/or is relevant to the content of the View. Once this View is saved it will show as an option for you in the View: dropdown menu.
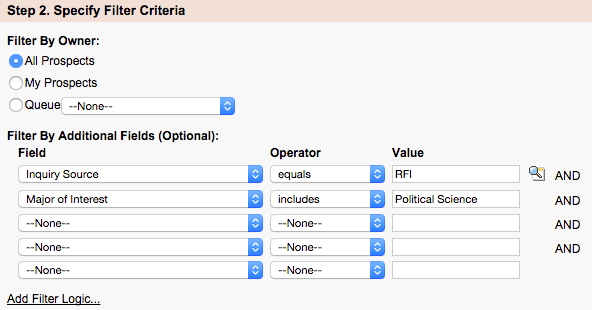
- Step 2 is to Specify Filter Criteria which will determine the records you see in the list for the View you are creating.
- Choosing Fields and Values may be easier if an existing record for that Object and/or Record Type has been reviewed.
- You will need to pick the exact name of the Field and determine how the Value populates in order to best determine which Filter Operators to choose.
- The Filter by Additional Fields area defaults to all of the criteria being included but you are able to click on Add Filter Logic at the bottom of the Specify Filter Criteria area to update the Filter Logic.
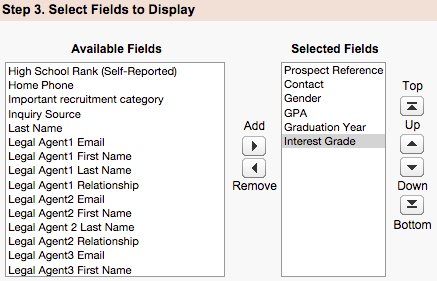
- Step 3 is to Select Fields to Display. This will determine what information shows in the list of records in the View that you are creating.
- You will be able to pull up full records to get any information that you choose not to show. However, if there is criteria that you would look for in terms of whether or not to open a record from the View, it should be included here.
- You will be able to pull up full records to get any information that you choose not to show. However, if there is criteria that you would look for in terms of whether or not to open a record from the View, it should be included here.
- When all of the desired information has been included, click on Save at either the top or bottom of the Create New View screen. This will automatically run your new View.
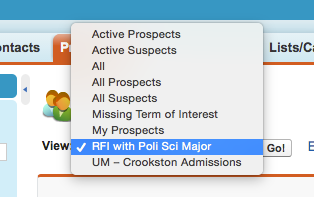
- To run your new View in the future, select the option from the View: dropdown on the Object Home Tab used to create the View and click on Go!