
There are several ways to add images to a page. These instructions are for contributors who need to add an image within a field that has the HTML editor toolbar.
Directions
- Click Menu in the Administrator toolbar.

- Click Content in the Menu toolbar.

- Use filters, if desired, at the top of the Content page to locate the page you want to edit by entering Title, Type, Author, Published status (Yes or No), or Vocabulary and clicking Apply.

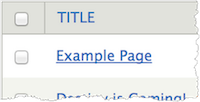
- Click the page title link in the Title column for the page you want to edit.
- Click the Edit Draft tab.

- Place your cursor in the content field where you want the image to display.
- Click the Add Media icon in the HTML Editor toolbar.

- Click Choose File.
- Select the image you wish to upload in the dialog box.
- Click Upload.
- Click Next.
- Enter a descriptive phrase or sentence to the Alt Text field (important for accessibility).
- Add one or more descriptive tags, if desired, in the Tags field.
- Tags will help you organize your files as your library of uploaded images, documents, and other media grows.
- Fill in any additional optional fields as needed.
- Click Save.
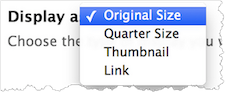
- Select your desired display size from the Display as drop-down menu.
- Click Submit. You should now see your image added to the content field.
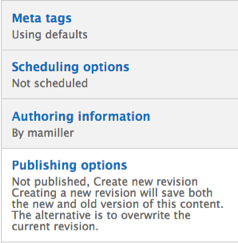
- Click Publishing Options in the bottom left corner.
- Choose the publishing state from the Choose an action drop-down menu (required).
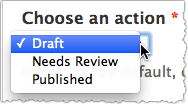
- Draft: This state keeps the page private. You can keep working on the page without having the public see it.
- Needs Review: This state keeps the page private, but flags the page as ready for editing.
- Published: This state makes the page public. Publishing a page will also make it viewable in any menus or automatic lists (aka views) that might reference the page.
- Enter a message to state your changes in the Log message for this state change field.
- Check the Create new revision checkbox.
Note: This checkbox should automatically be checked. If it isn't, check it. - Click Save. You should now see the new image on your site.
Additional Information
Use the Word - HTML converter to avoid dirty web source and messy markup code!