
Printers are managed by Active Directory groups. The user needs to be added to the proper group to see and access the printer. If you have not been added to the proper group, you will get an "Access denied" error or a prompt asking for a username and password.
- Requesting Access to a Printer
- Adding a Network Printer
- Adding A Network Printer From Directory
- Adding a Network Printer from the Print Server
- Additional Information
Requesting Access to a Printer
Complete the Printer Access Request form to gain access to a network printer or contact Technology Help if you need assistance or are facing one of the following situations:
- The person who needs access to the printer does not populate into the request form
- The printer you are looking for is not listed in the request form
- Adding a large group, Department, or Unit to a printer
Adding a Network Printer
Note: For instructions on adding printers to personal devices, use Adding a Network Printer from a Print Server. To add a printer to a University-managed device, use the instructions below.
Printers should automatically install on your computer once you are granted access to the printer. If requesting access to a printer using the Printer Access Request Form, follow the steps below once you are informed that your access has been granted.
- Connect your device to the University network.
- Restart your computer.
- Sign in on the computer and connect to the University network.
If the printer does not show up automatically in your list of printers, use the instructions below to add the printer from the directory or print server.
Adding A Network Printer Using the Directory
Sometimes adding the printer is easier if you search by hostname.
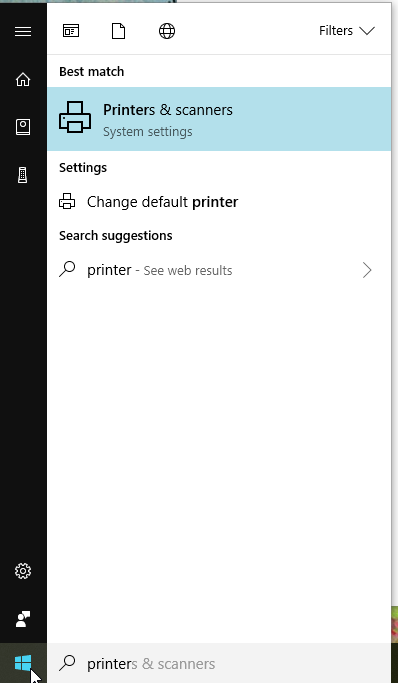
- Open Printers and Scanners, easiest to find by searching in the start menu.
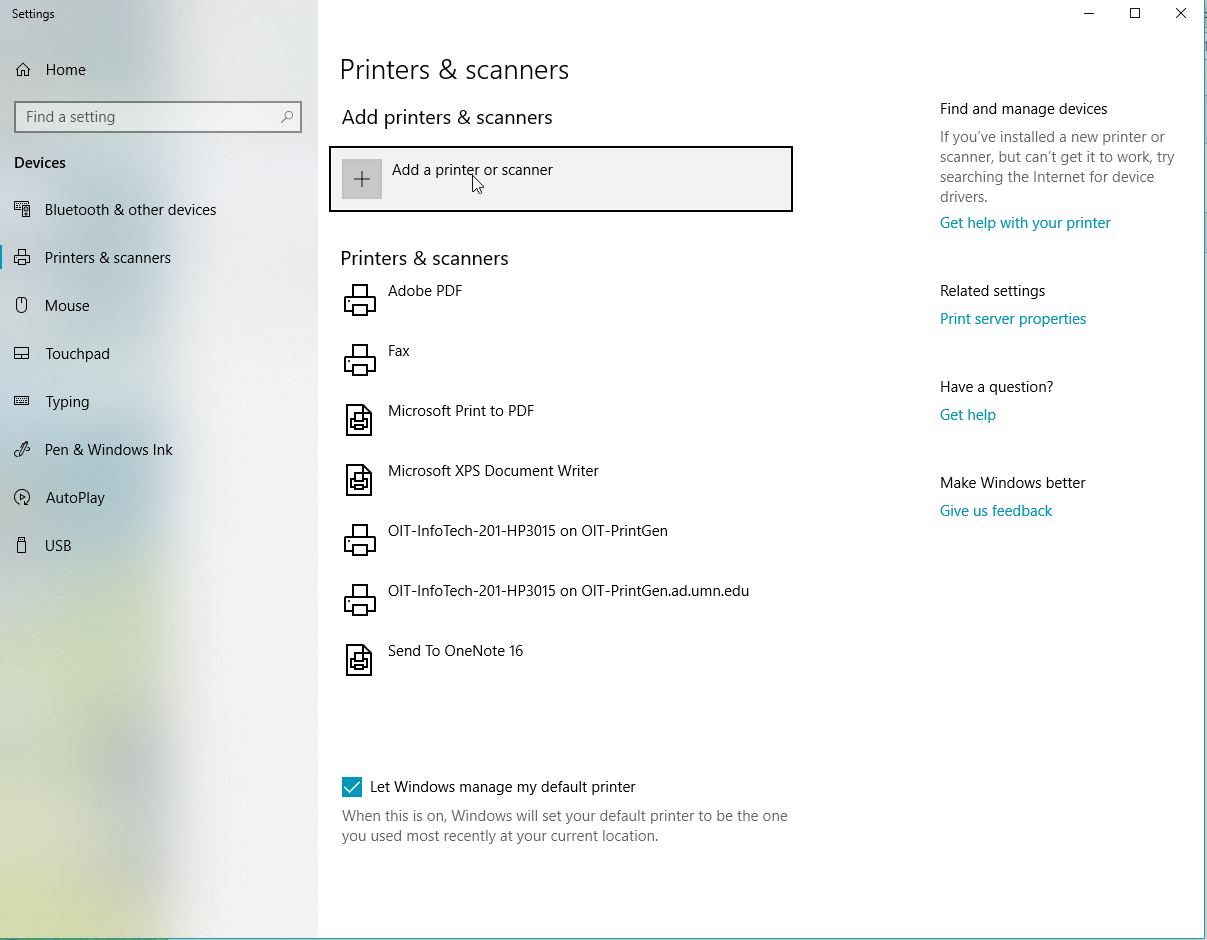
- Select Add Printer or Scanner.
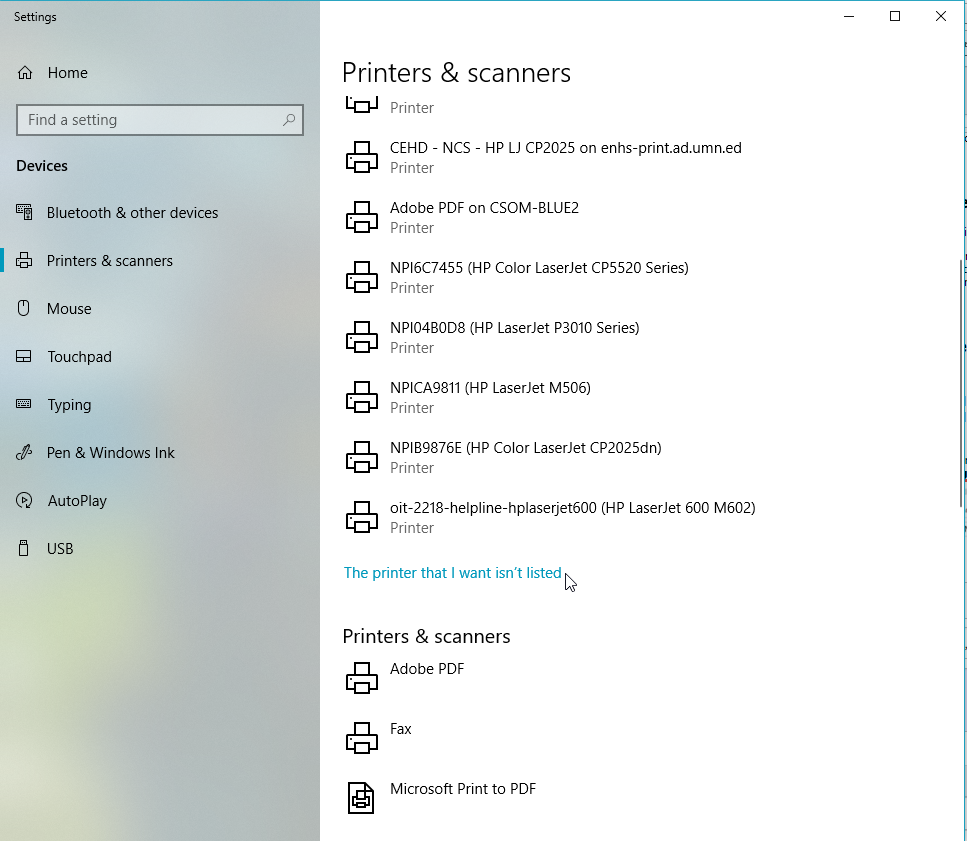
- After the printer list starts populating, scroll down and select the option "The printer that I want isn't listed."
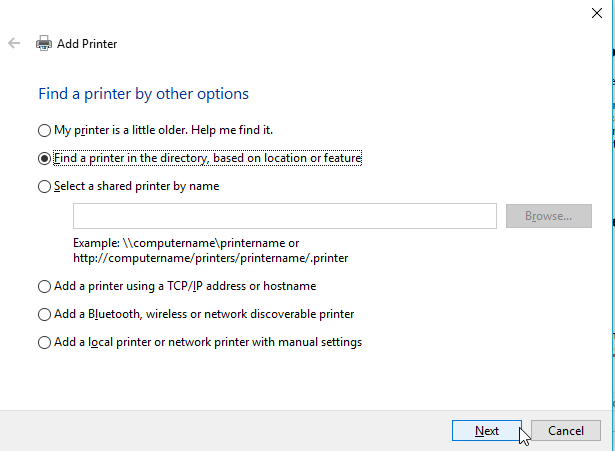
- On the new window that appears, select "Find a printer in the directory, based on location or feature." Then click Next.
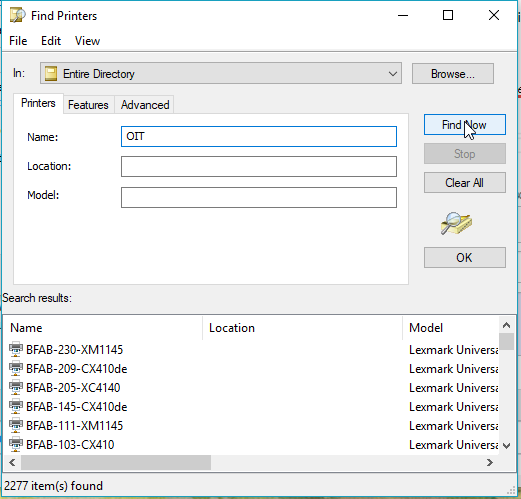
- A new dialog window will appear and in the Name field you can search for the name of the printer, or even the department the printer is in (OIT is only an example in the screenshot). After you have added your search term, click "Find Now."
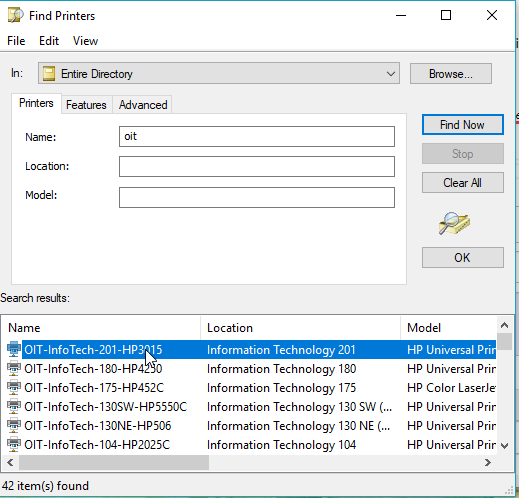
- A list of printers will appear. Double click the printer you would like to add. Then click next through the prompts that appear and your printer should be added. Printing a test page may show up as an option and is recommended to verify the connection.
Adding a Network Printer from a Print Server
- If you are adding a color or multi-function printer, you will want to use \\oit-printprem
- If you are adding a plain black and white printer with no multi-function features use \\oit-printgen
- From your keyboard, hit the Windows key
 and R key
  at the same time, it will open the Run window.
 - Type \\oit-printgen.ad.umn.edu or \\oit-printprem.ad.umn.edu or \\oit-printlgcy.ad.umn.edu (this is based on the server the printer exists on. OIT-Printgen is for standard printers, OIT-Printprem is used for multi-function devices, and OIT-PrintLgcy is used only for printer objects that cannot be configured ) and either hit Enter or click OK. The printer server window will open.
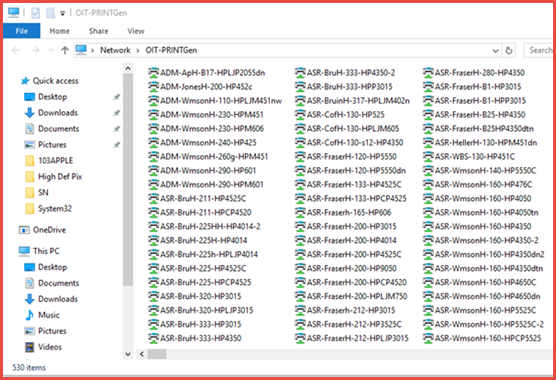
- Find the printers you want to install and double click it.
- Print a test page to verify your printer works properly.
Additional Information
If you are unable to add the printer this way, you may not have been granted access to use this printer. For assistance please send a message to [email protected] listing the name of the printer you would like access to print.