There may be times when you want to create an Event or Visit that has many of the same characteristics of an existing Event record.
Cloning a current Visit or Event may save time by transferring some of the information from the existing Visit or Event into a new one for manipulation.
The instructions below show you how to clone a Visit or Event, and outlines the information that carries over as well as the information that does not carry over and will need to be added separately.
Cloning a Visit Option
Navigate to the Visit or Event Record (if needed)
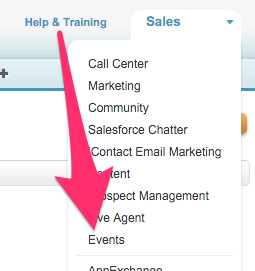
- Select Events in the App menu dropdown to bring up the Events App.

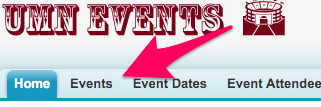
- Once on the Events App click on the Events Tab.

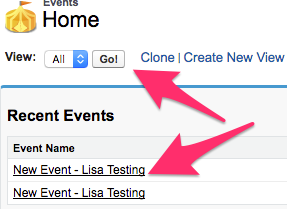
- On Events Home, find the desired Visit or Event either by looking in the Recent Events list or by searching the appropriate dropdown selection in the View:All menu and clicking Go!

- Once the appropriate Visit or Event is found, click on the Event Name to bring up the Event record.
Clone a Visit Option
- From the Visit or Event record, click on Clone at the top or bottom of the Event Detail section. This brings up the New Event screen.

- On the New Event screen all of the information from the previous Visit or Event should be showing. Make any changes needed to the information (if you are keeping mostly everything the same at least updating the Description is recommended) and then click Save to be brought to the new Event record.
- On the Event record you will notice that any additional items that were associated with the Event record did not transfer over and will need to be added again. From here the process is the same as creating a New Visit or Event from Step 7 forward.
