
This is the fifth of nine tasks for setting up your XFP forms to work with CXM. Please go to the Self-Help Guide, under the Configure a CXM Workflow column, for more information.
This article explains how to pull data from an existing CXM case into a subsequent form in a workflow process.
Note: The following steps are completed in XFP within a subsequent or next form of your workflow process.
Creating Logics to Store Data from CXM
In order to pull data from CXM onto your form, you need to create a logic for each CXM field in your case type. When you submit your XFP form, the submission updates the existing case, sending all mapped field data back to CXM.
Note: When an XFP form updates data in CXM, any field not mapped in the CXM Form template will be empty in CXM.
- From the Advanced tab, click Create Logic.
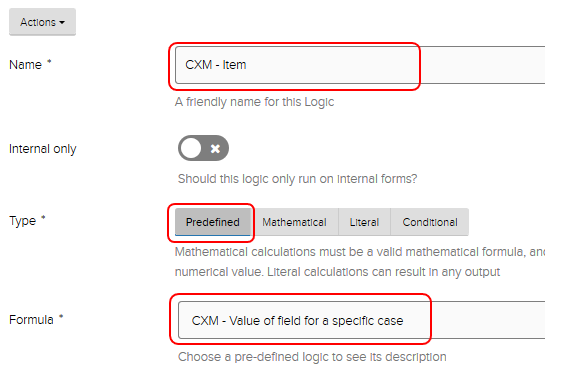
- Name: It's good practice to prefix all logics that pull data from CXM with CXM - to help distinguish from other logics on your form (Example: CXM - Item)
- Type: Select Predefined
- Formula: Select CXM - Value of field for a specific case from the dropdown.
- The Description and Inputs sections appear. Choose the following Inputs:
- CXM Case Reference: Select the Case Number (Landing Page) field from the integrated component added on your landing page.
- CXM Field: Select the field from your CXM Case type you wish to pull the data from
- Run as signed in user: Leave as No.
![Jadu XFP logics Inputs section. Case information - Case number (landing page) and example CXM field [TRAIN] Item Needed highlighted.](https://it-knowledge.umn.edu/sites/it-knowledge.umn.edu/files/tdxassets/jadu%2520xfp%2520cxm%2520logic%2520inputs.png)
Displaying Data from CXM Case on the Form (Optional)
You can choose to display data from your CXM case on the form for viewing or editing. For example, you may want to display the initial requester's name and some details from their request to the approver. This data can be shown in display-only or editable fields depending on your business requirements.
- Create the fields on your form that you wish to populate CXM case data into.
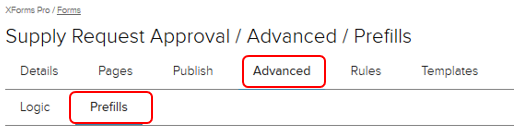
- From the Advanced tab, select Prefills.
- Click Add Prefill.
- I want to prefill: select the form field you want to populate data into
- With the value of: select the appropriate logic containing the CXM field data
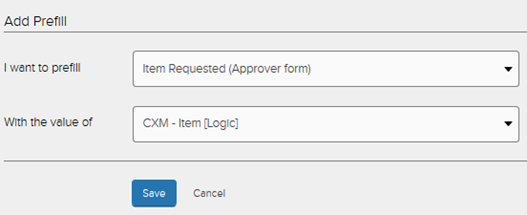
- Click Save.