
The following instructions are for websites using the default UMN Drupal configuration.
Drupal is highly customizable, and your site may have different steps for completing the task. Additionally, your role in Drupal may not have the proper permissions to complete the task. Contact your site administrator for additional information.
- Click Menu in the Administrator toolbar.

- Click Content in the Menu toolbar.

- If desired, use filters at the top of the Content page to locate the page you want to edit by entering Title, Type, Author, Published status (Yes or No), or Vocabulary and clicking Apply.

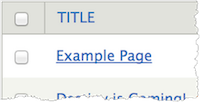
- Click the page link in the Title column for the page you want to edit.
- Click the Edit Draft tab.

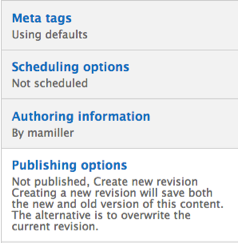
- Click Menu settings in the bottom left corner.
Note: If the content type for the page does not include a default menu, you will not have a Menu settings link.
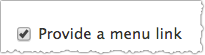
- Check the Provide a menu link checkbox.

- Enter a title for the menu link in the Title field.
- Select the menu level for this page in the Parent drop-down menu.
- Click Publishing Options in the bottom left corner.
- Choose the publishing state from the Choose an action drop-down menu (required).
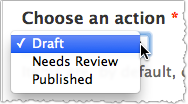
- Draft: This state keeps the page private. You can keep working on the page without having the public see it.
- Needs Review: This state keeps the page private, but flags the page as ready for editing.
- Published: This state makes the page public. Publishing a page will also make it viewable in any menus or automatic lists (aka views) that might reference the page.
- Enter a message to state your changes in the Log message for this state change field.
- Check the Create new revision checkbox.
Note: This checkbox should automatically be checked. If it isn't, check it. - Click Save. You should now see the new content page on your site.